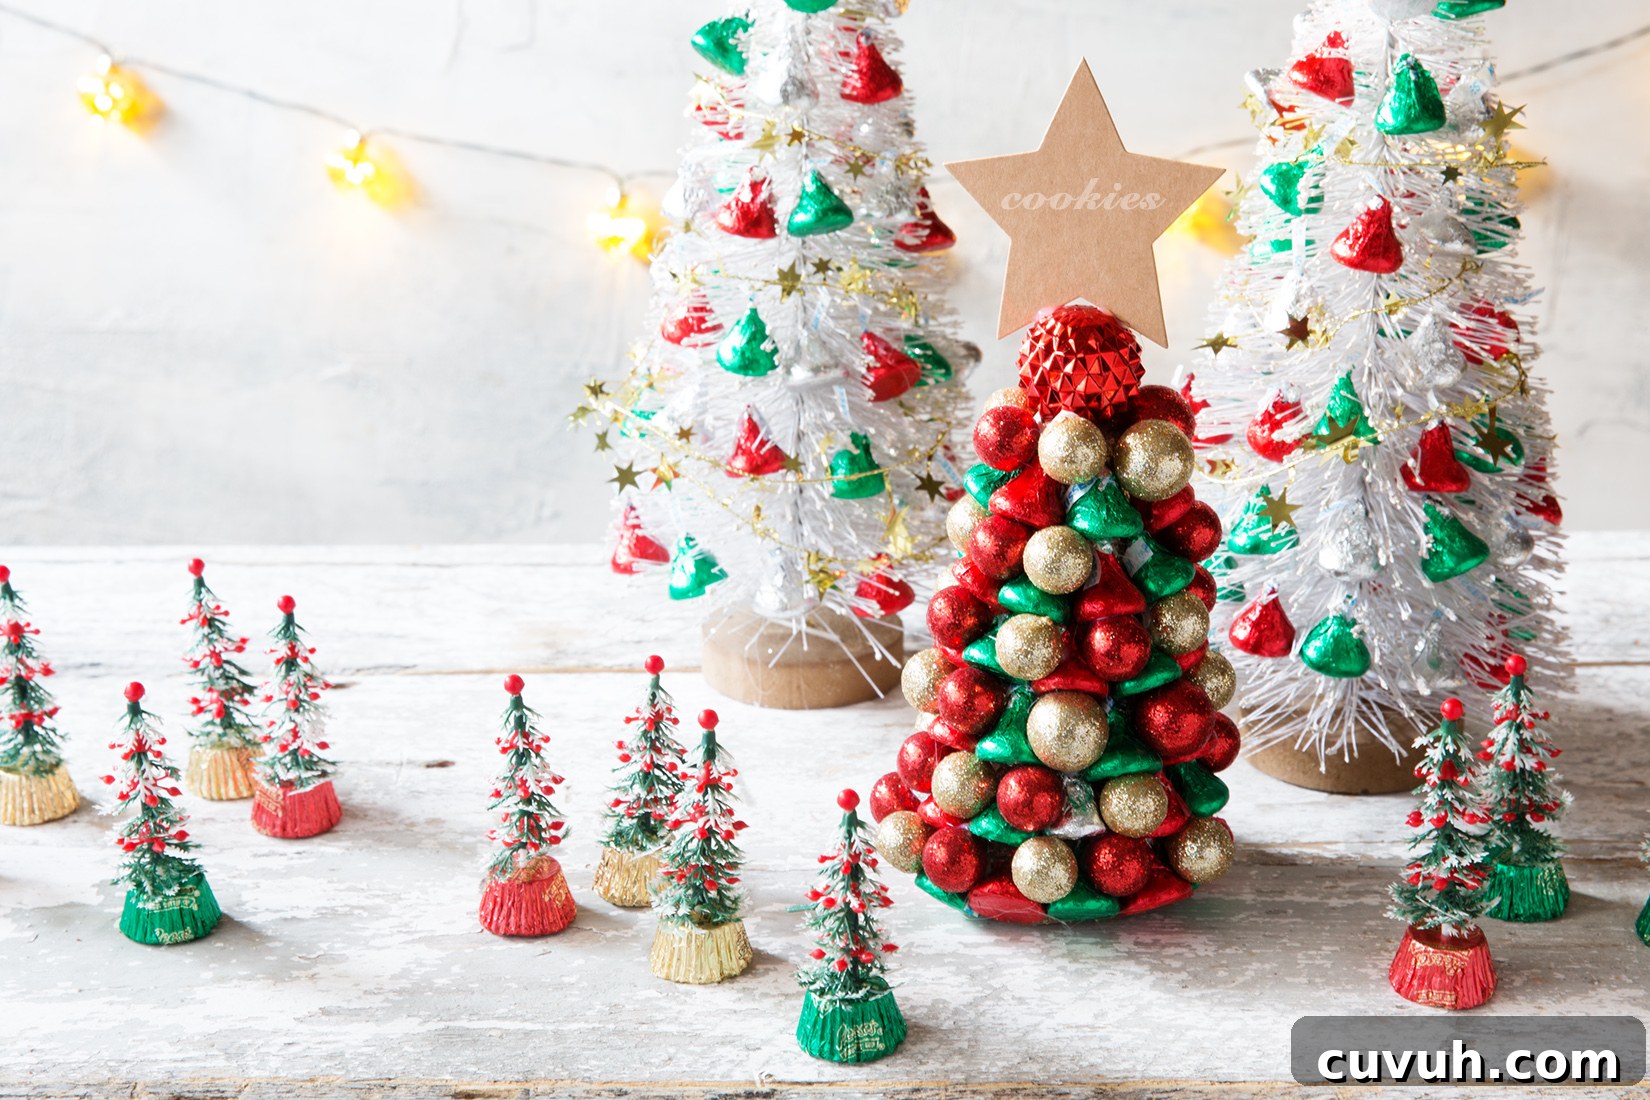
Admittedly, I’ve never been much of a crafter, but this holiday season I teamed up with The Hershey Company to bring a simple, joyful DIY to life. My goal wasn’t perfection—just making warm holiday memories with my boys while creating cheerful table decor that’s colorful, approachable, and festive.
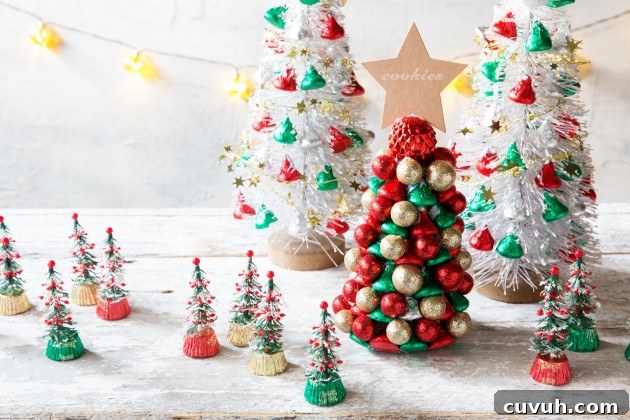
There are so many creative ways to use Hershey’s holiday candies. I’m especially fond of the bright foil wrappers on HERSHEY’S KISSES—red, green, and silver add instant holiday spirit. For our project I chose easy, kid-friendly crafts that let the boys help and feel proud of the final results. These pieces work well as place cards, napkin rings, or small decorative trees for a holiday table.
My boys couldn’t wait to show off the HERSHEY’S KISSES Christmas Tree name cards and the Hershey’s napkin rings to our dinner guests. Working together was the best part. A few practical tips: when crafting with young children, use double-sided foam tape rather than liquid glue for a safer, less messy option. If older kids or adults use a glue gun, set it to low temperature so the candy retains its shape and wrapper.
Supplies for these projects:
- 3 17 oz. bags of HERSHEY’S KISSES in red, green and silver
- 1 11 oz. bag of Reese’s Peanut Butter Cup Miniatures
- 2 bottle-brush needle Christmas trees, about 12 inches
- 12 plastic Christmas trees, about 3 inches
- 1 foam cone, approximately 6 inches
- 6 pine needles with stems (real or artificial)
- 1 length of star garland, about 9 feet
- 3 feet of burlap twine
- 1 package of small glitter balls for filling gaps
- 1 package of 12 craft star tags
- 1 package of 12 craft name tags
- Double-sided foam tape
- Low temperature glue gun and glue sticks
How to make a 6-inch HERSHEY’S KISSES foam Christmas tree: Start by placing a small piece of double-sided foam tape on the flat bottom of a HERSHEY’S KISS. Working from the base of the foam cone, attach the kisses in a horizontal row all the way around. Continue stacking rows upward until you reach the top. Fill any visible gaps with glitter balls for a finished look, and top the tree with a small ornament or craft star.
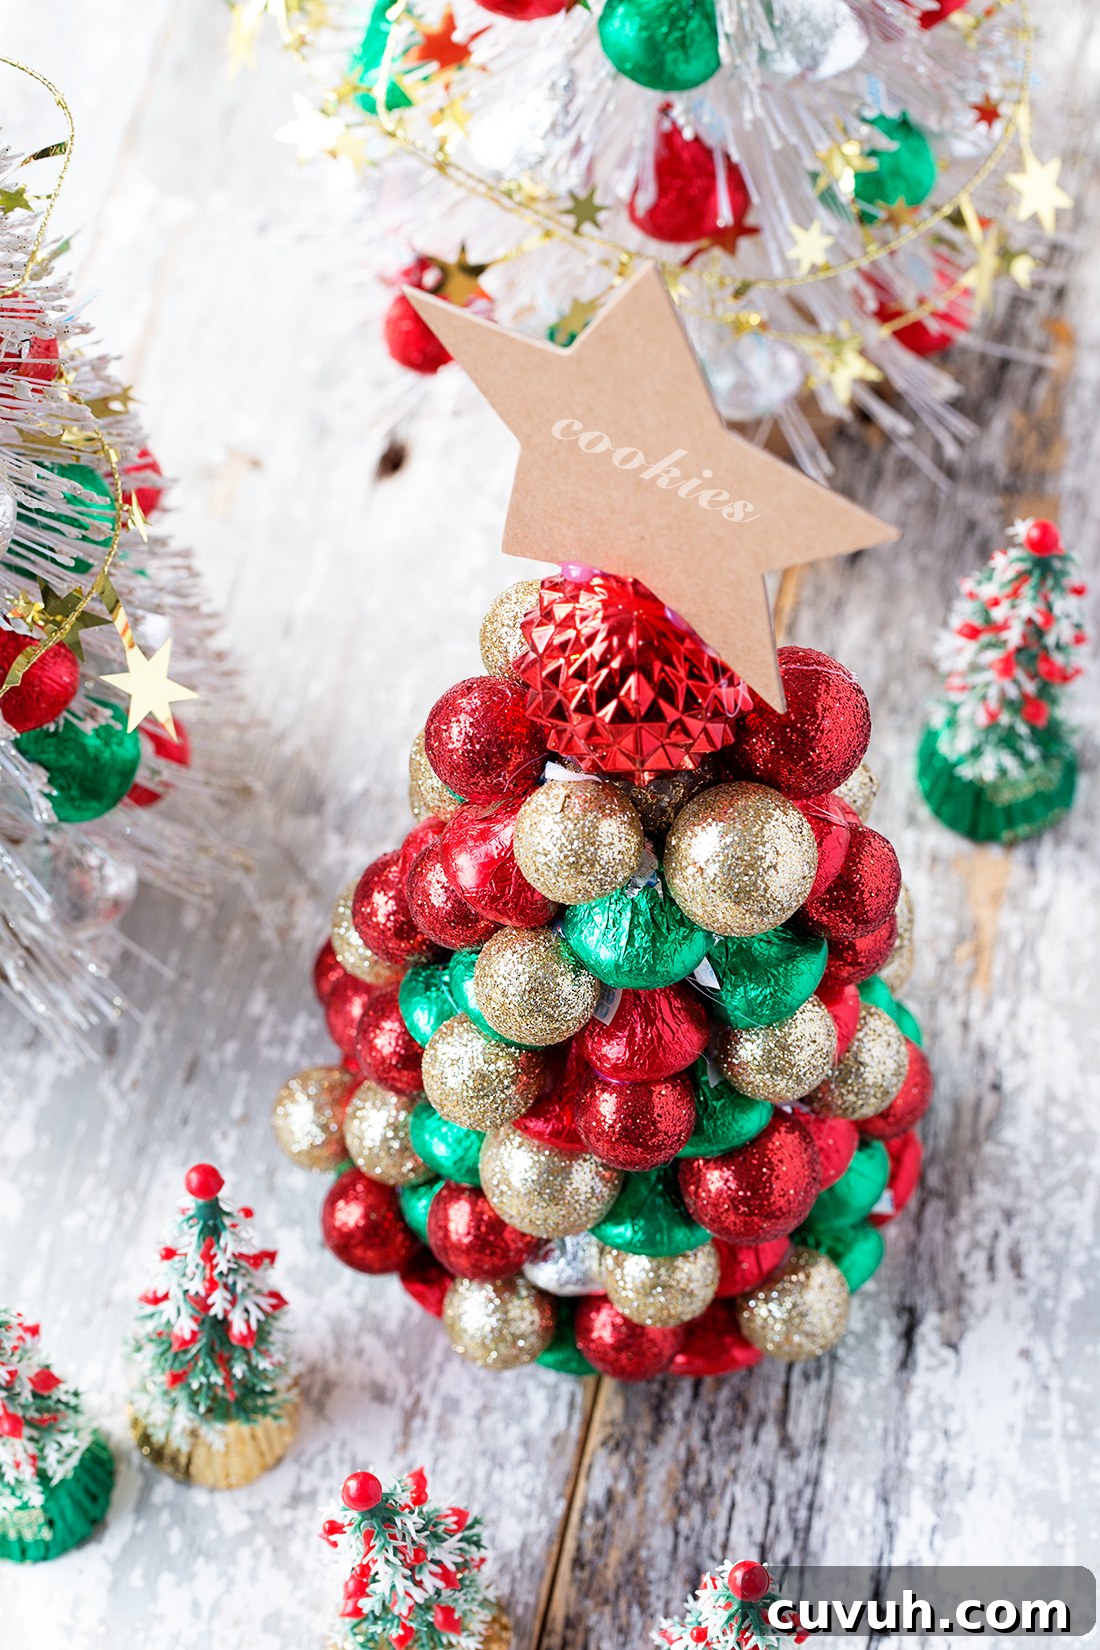
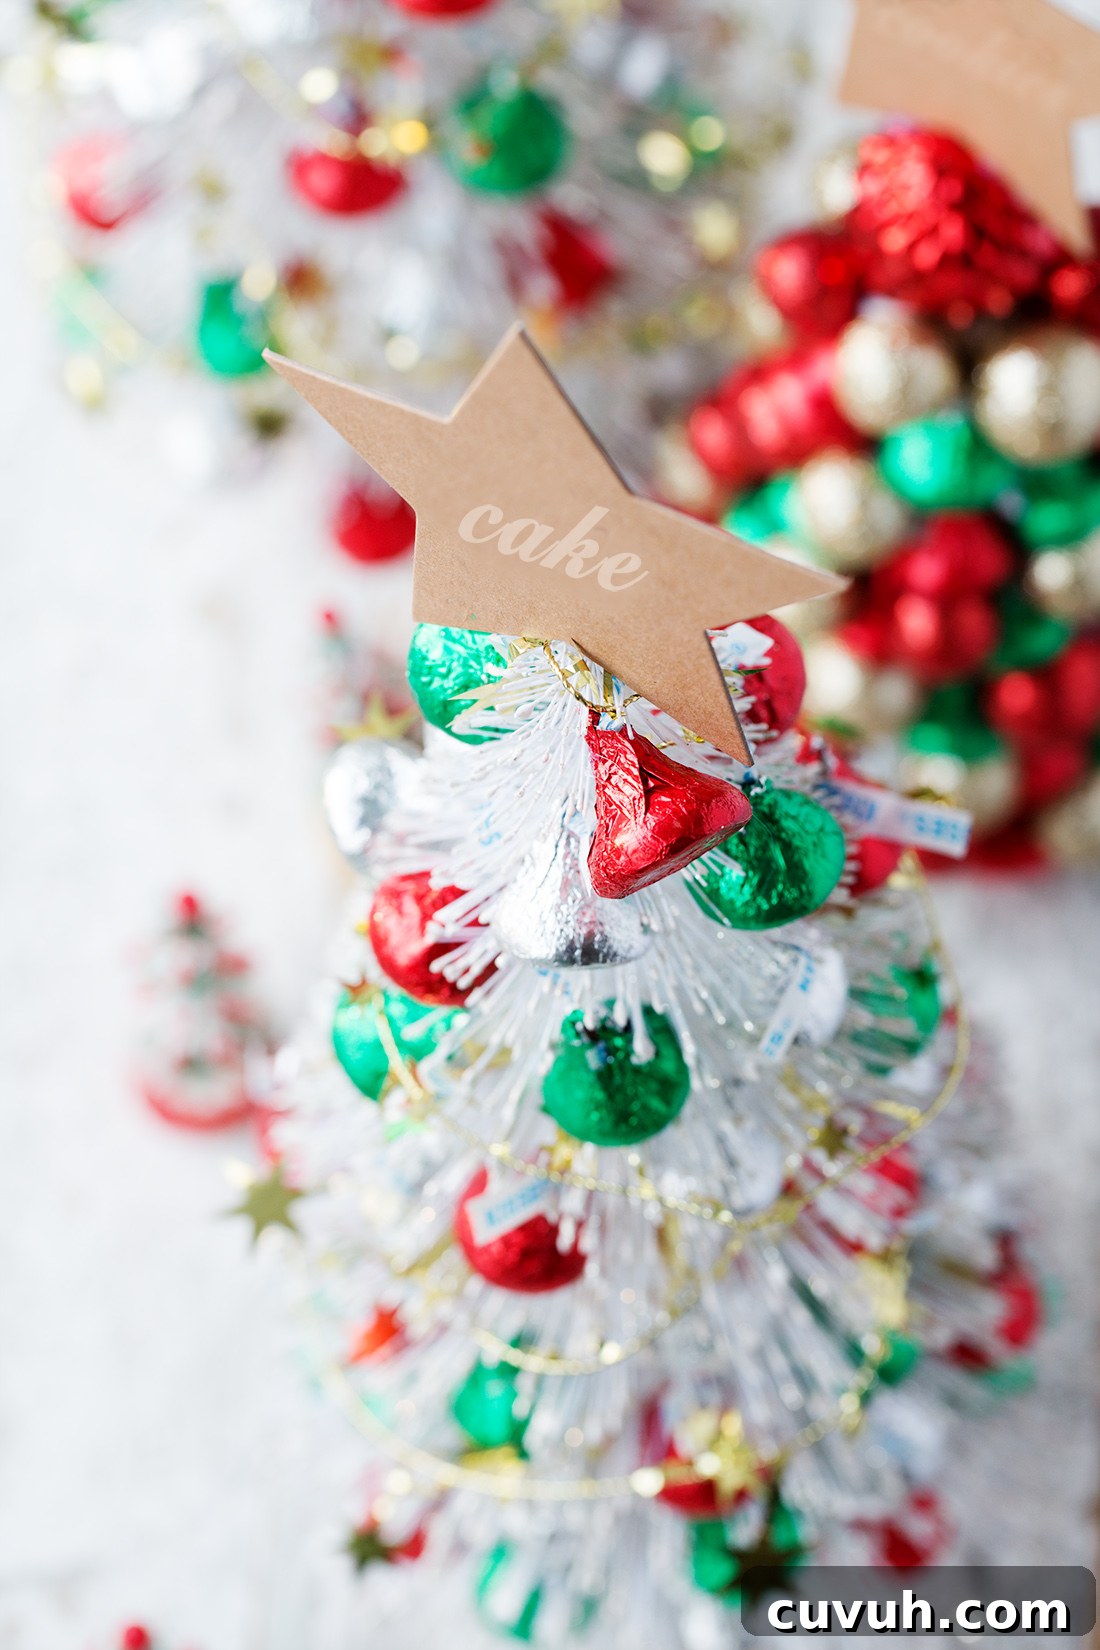
How to create large decorative bottle-brush trees: Use a low temperature glue gun to secure a small drop of glue to the base of each HERSHEY’S KISS, then press the candy into the bristles of the bottle-brush tree. Work around the tree until the bristles are covered and finish the top with star garland and a craft star for a polished, festive look.
How to make miniature edible trees: Push the stem of a 3-inch plastic tree into the top of a Reese’s Peanut Butter Cup Miniature to form a small, sturdy base. Arrange these tiny trees around serving dishes or place settings for a whimsical, edible tablescape.
How to make napkin rings with name tags: Thread a craft name tag onto a pine needle stem and bend the stem into a circle, securing the ends with a short length of burlap twine. Attach HERSHEY’S KISSES around the stem using small glue drops or double-sided tape to form a candy ring. This creates a charming, personalized napkin ring that doubles as a thoughtful take-home treat for guests.
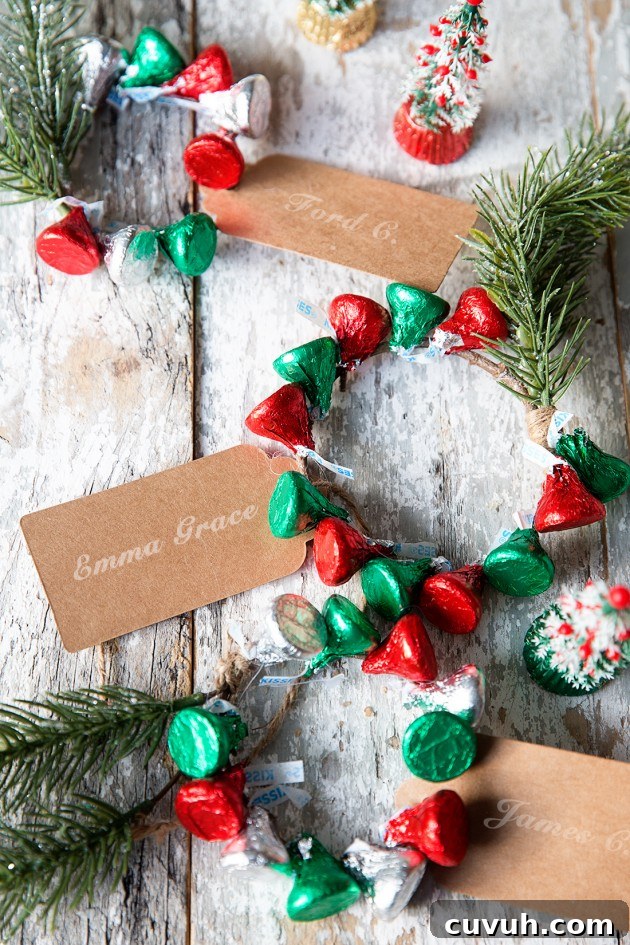
As with any holiday celebration, be sure to set aside a bowl of candy for snacking—no table is complete without a simple candy display for guests to enjoy. These crafts are meant to add cheer and charm to your gathering while keeping the process relaxed and family-friendly.
I’d love to see what you and your family create with Hershey’s candies this season. Share your ideas and photos in the comments so we can inspire one another and build new holiday traditions.
*Completed crafts are for decorative purposes only. Candy used in crafts should not be eaten.
**This is a sponsored post in collaboration with Hershey. All thoughts and opinions are my own.